So you want to build a guitar? Ok then. Let's get started. This guide provides instructions covering nearly every model we sell. Wiring diagrams specific to your model are in the Wiring section — select your configuration from the dropdown there.
⚡ How This Guide Works
Work through the sections in order using the sidebar or the Next button. Check off steps as you complete them and mark each section done — your progress is tracked as you go.
The Wiring section includes an interactive diagram selector. The Debug Guide at the end is an interactive troubleshooter if anything sounds off.
Already have your kit ready to wire?
Select your model and view the diagram for your configuration.
2
Prep
Before Starting
Set yourself up for success
Buying a kit is different than buying a finished product. You may encounter issues that require additional attention — small dents, rough edges, pockets that need light sanding. That's normal. If you run into anything you're unsure about, contact us.
⚠ Four Important Tips
1. Inspect and test fit before starting. Find a cracked part right out of the box? We can help. Find it after you've shaped and finished the headstock? That's trickier. Inspect everything first.
2. Veneers do not need sanding. They are prepped for finish. If you do sand, use only a very fine grit and do it by hand.
3. Power tools need not apply. A manual screwdriver beats a power drill for kit builds — no stripped heads, no crooked screws.
4. Take your time. The single biggest difference between a great result and a disappointing one. There's no rush.
3
Test Fit
Test Fit
Check everything before you commit
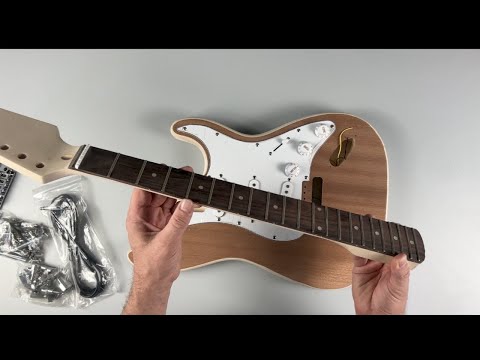
Before starting your build, test fit all the parts to avoid surprises later.
The neck should fit firmly in the neck pocket. On bolt-on necks, a small amount of play is generally acceptable. If too tight, a small amount of sanding to the body is usually enough. If too loose, a thin shim of any material will close the gap.
Many kits have a fretboard that overhangs the body — a small gap under the fretboard is intentional, giving the right string height. Do not sand the back of the neck to reduce this gap — it will render the guitar unplayable.
Inserting The Neck
The neck pocket is slightly tapered, getting wider toward the upper frets. Necks must be inserted in the correct direction — they will not fit if reversed.
✕
Incorrect — won't fit due to taper
✓
Correct — heel first, fretboard facing body
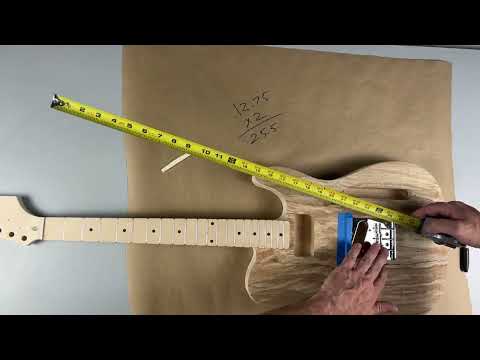
Checking String Length
Scale length = distance from nut to crown of 12th fret × 2. String length = scale length + 1/16 to 1/8 inch. Measure from the nut to the 12th fret, double it, add 1/16" — that should roughly match the nut-to-bridge-center distance. Most bridges are adjustable to fine-tune intonation later.
Many guitars (especially set-neck styles) have a slight neck angle — that's normal. With neck and bridge hardware in position, run a straight edge or string from the nut to the bridge. It should follow the fretboard at a smooth, even plane. If it intersects or gaps widen, check and adjust the truss rod (see Section 5).
📸
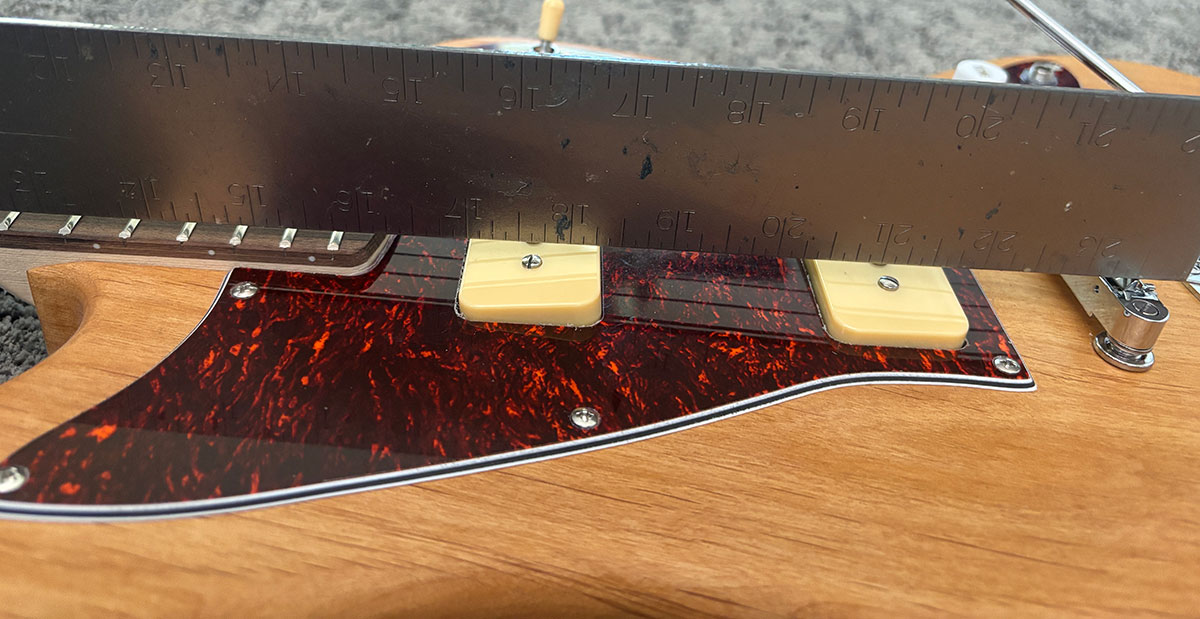
Neck Angle Check
Neck angle check — straight edge running from nut to bridge
Show correct and incorrect angle. A ruler or steel straight edge resting on the fretboard works well.
Inventory of Parts
The bags of screws and small parts can look daunting, but most become self-evident as you build. There's rarely more than one place any part can go. Most model-specific instructions include a labeled parts guide.
📋 Test Fit Checklist
4
Head
Headstock
Shape your paddle headstock
Many guitar kits come with an oversized, unshaped "paddle" headstock — intended to be shaped by you, the builder. Major manufacturers hold trademark protections on their iconic headstock designs. We can't supply templates, but a quick internet search will normally find what you're looking for.
Many customers draw their own shape — a great approach. Anyone can buy a name-brand guitar. Make yours unique.
⚖ Is It Legal?
Can I shape it like a Stratocaster for personal use? Yes. It's your wood, shape it however you like.
Can I put a Fender logo on it and sell it as genuine? No. That's fraud. Don't do that.
Shaping Steps
Important: Before cutting, test fit the tuners in place. Ensure your headstock design won't interfere with how the back plates of the tuners mount.
Nothing determines playability more than a straight neck with level frets. All Vibeworks kits use dual-action truss rods. Necks are straightened at the factory, but humidity, time, and materials can cause movement before your build.
Truss Rod Adjustments
The Allen Wrench for the truss rod is included in your kit — usually in the bag with the output cable. Make adjustments slowly: normally ¼ turn at a time. Spread larger adjustments over several days to let the wood settle.
Concave Bend
⬆️
Neck bowing forward toward strings
Turn clockwise at headstock to add tension and pull the neck back
Convex Bend
⬇️
Neck bowing away from strings
Turn counter-clockwise at headstock to release tension
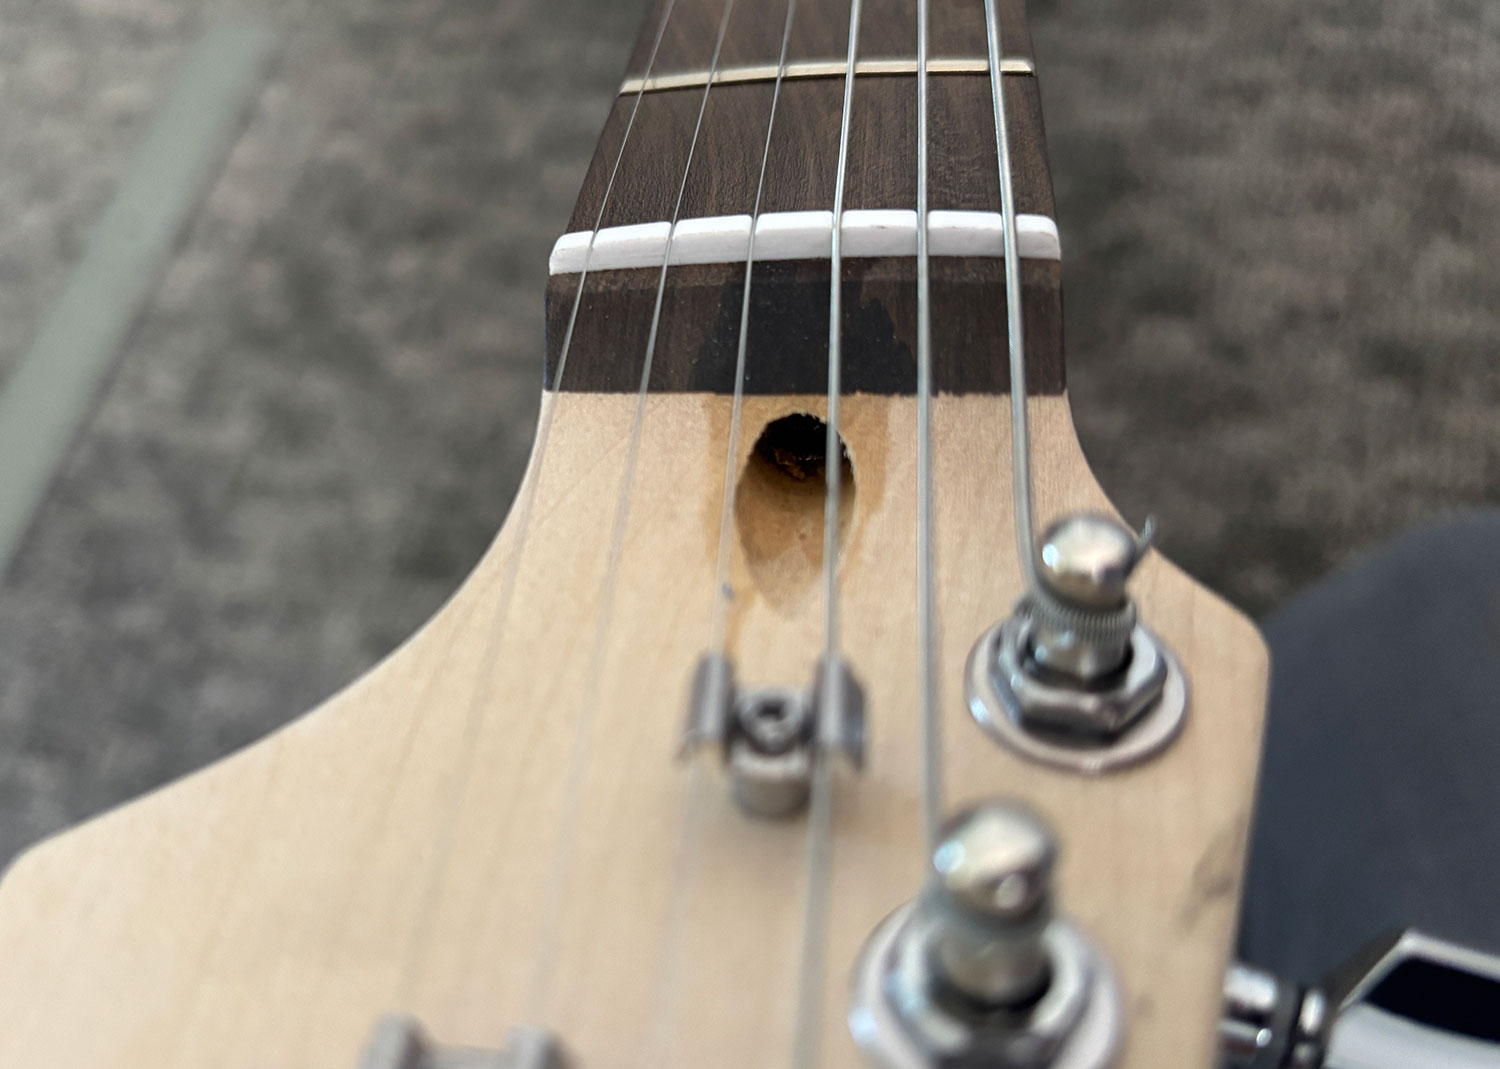
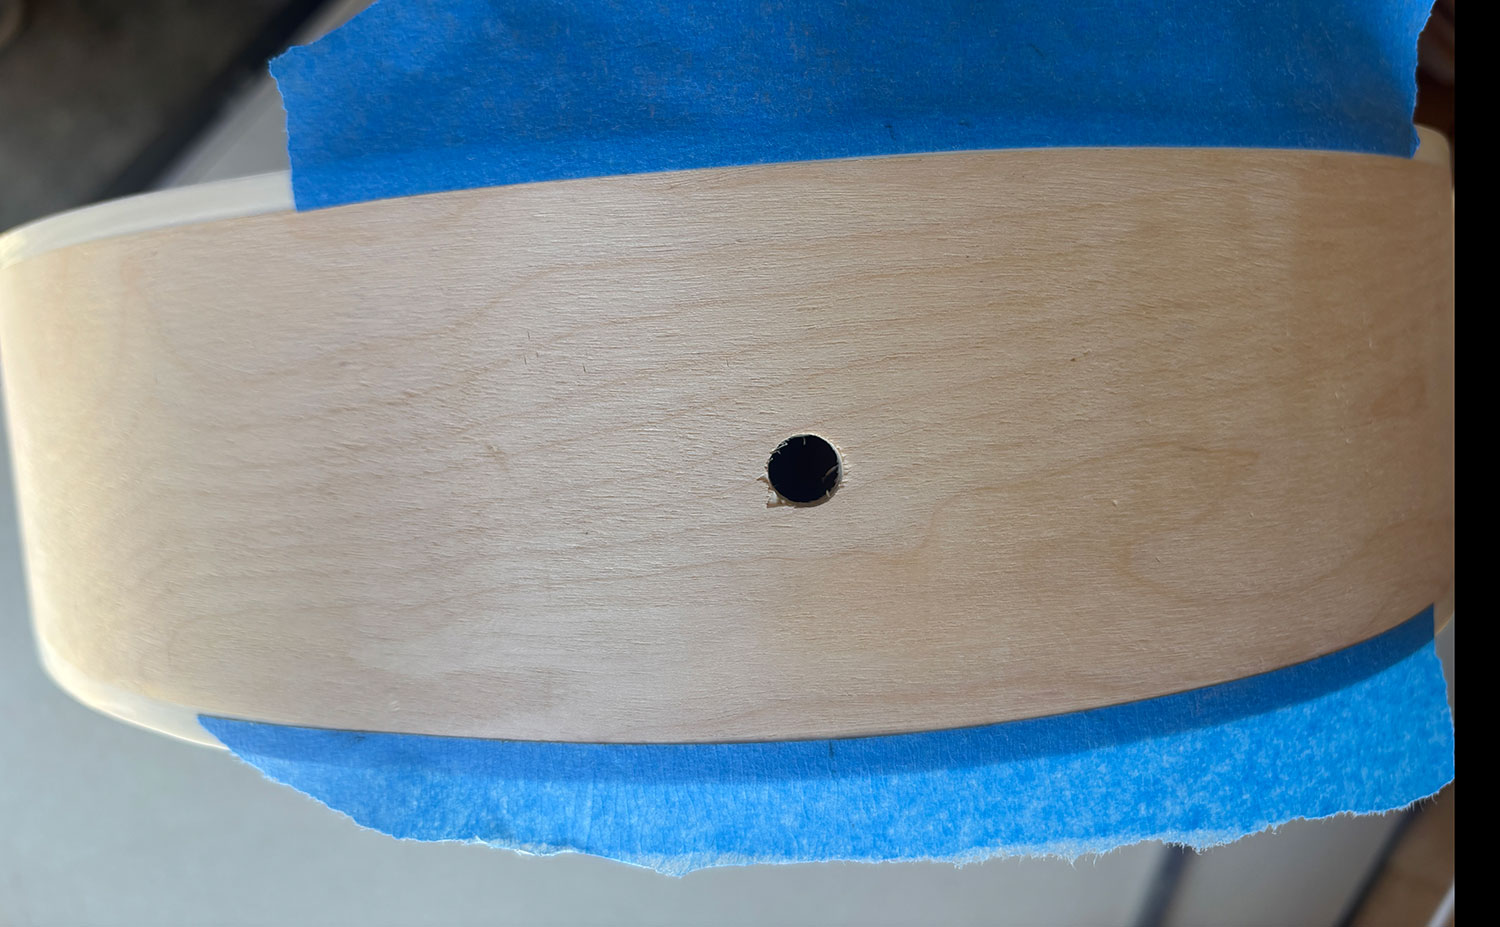
Truss Rod Nut Access
Use the included Allen wrench to adjust the truss rod tension using this access hole.
Checking for Level Frets
All frets are leveled, crowned, and polished at the factory — but building and string tension can create high spots. Check with a fret rocker or piece of flat material: place it on three consecutive frets, one at a time. If it rocks, the middle fret is high.
Sharpie method: Color the tops of all frets with a marker, then sand the length of the fretboard lightly with a long sanding block. High frets lose their ink faster.
Fret Rocker
Don't have a fret rocker? Any flat item that spans 3 frets (and only 3 frets) will work. Credit cards can do most of the job.
Tip: Mask the fretboard on each side of any fret you're working on to protect the wood.
If a high fret isn't seated properly, a firm tap with a rubber mallet may fix it. If already seated, use a small file to carefully bring it down to height, then re-crown with a crown file.
6
Finish
Applying a Finish
Paint, stain, or oil — it's your call
We could write a whole book about instrument finishing — and people have. Rather than trying to be the authority, here are some tips. Our official stance: these are not "paint by numbers" projects. We love seeing adventurous, creative choices.
Sealers
Our kits ship as raw wood with no sealer applied. Apply one if you like before your topcoat.
Grain Fillers
Basswood and Alder have tight grain — filler rarely needed. Mahogany has an open grain — a filler is a good idea.
Materials
Instrument-grade finishes, hardware-store dyes, gun stock oil — all valid. Use what appeals to you.
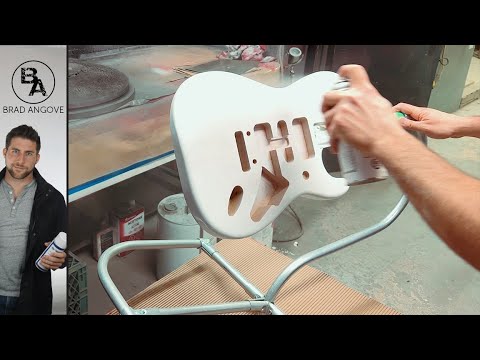
Masking
Mask the binding before applying finish. Bleed-under is normal — remove with alcohol or a razor blade after.
Temperature
Follow manufacturer instructions. For spray cans, warm the can in hot water first for a smoother, less spatter-prone spray.
Patience
The gap between a $100 finish and a $5,000 finish is almost always number of coats and prep work between them.
Masking the Binding
Mask the binding prior to applying your finish. Some finish may bleed, requiring scraping with a razor.
Install the neck before finishing for a uniform look. Keep them separate if you want a contrasting color on the neck. Either approach is completely valid.
Resources: YouTube has step-by-step guides for every finish type imaginable — nitrocellulose lacquer, poly, oil, burst, relic — search for the specific look you want.
7
Neck
Securing The Neck
Glue-in or bolt-on
Whether before or after finishing, the installation process is the same. Select your neck joint type below.
Tip: When clamping, protect the frets by using a padded clamp or placing a folded cloth between the clamp and the fretboard.
First, ensure the fit is correct as outlined in Section 3. Apply wood glue to the 3 mating surfaces of the neck and insert into position with the neck seated fully at the back of the pocket. Use gentle pressure with a padded clamp and allow to dry overnight.
Any wood glue works fine — Titebond Original is excellent, but any hardware-store wood glue does the job.
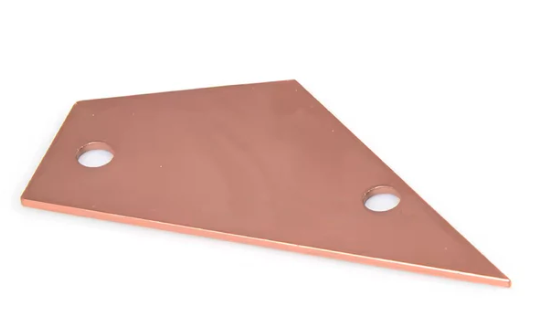
Secure the neck to the body using a clamp to ensure a tight fit and keep the screws straight. Use the included neck plate or inserts, and drive the neck screws with a manual screwdriver.
8
Wire
Wiring
Electronics, soldering, and your model diagram
🎸
Select your wiring configuration above to view the diagram
Soldering Basics
If you're new to soldering, don't stress — it's not too complicated. The basics: get the iron to temperature, heat the joint first (not the solder), then flow solder onto the heated joint.
We've made step-by-step wiring walkthroughs for several popular configurations. More are added as new models come out — check back if yours isn't here yet.
All components — pickups, pots, switch, jack — have a ground. All grounds must connect to each other to complete the circuit.
⚡ Ground Continuity
If the pickup connects directly to a volume pot, the bare (ground) wire connects to the back of the pot. A wire then runs from the back of that pot to the output jack sleeve. This ensures the ground runs continuously from pickup to output.
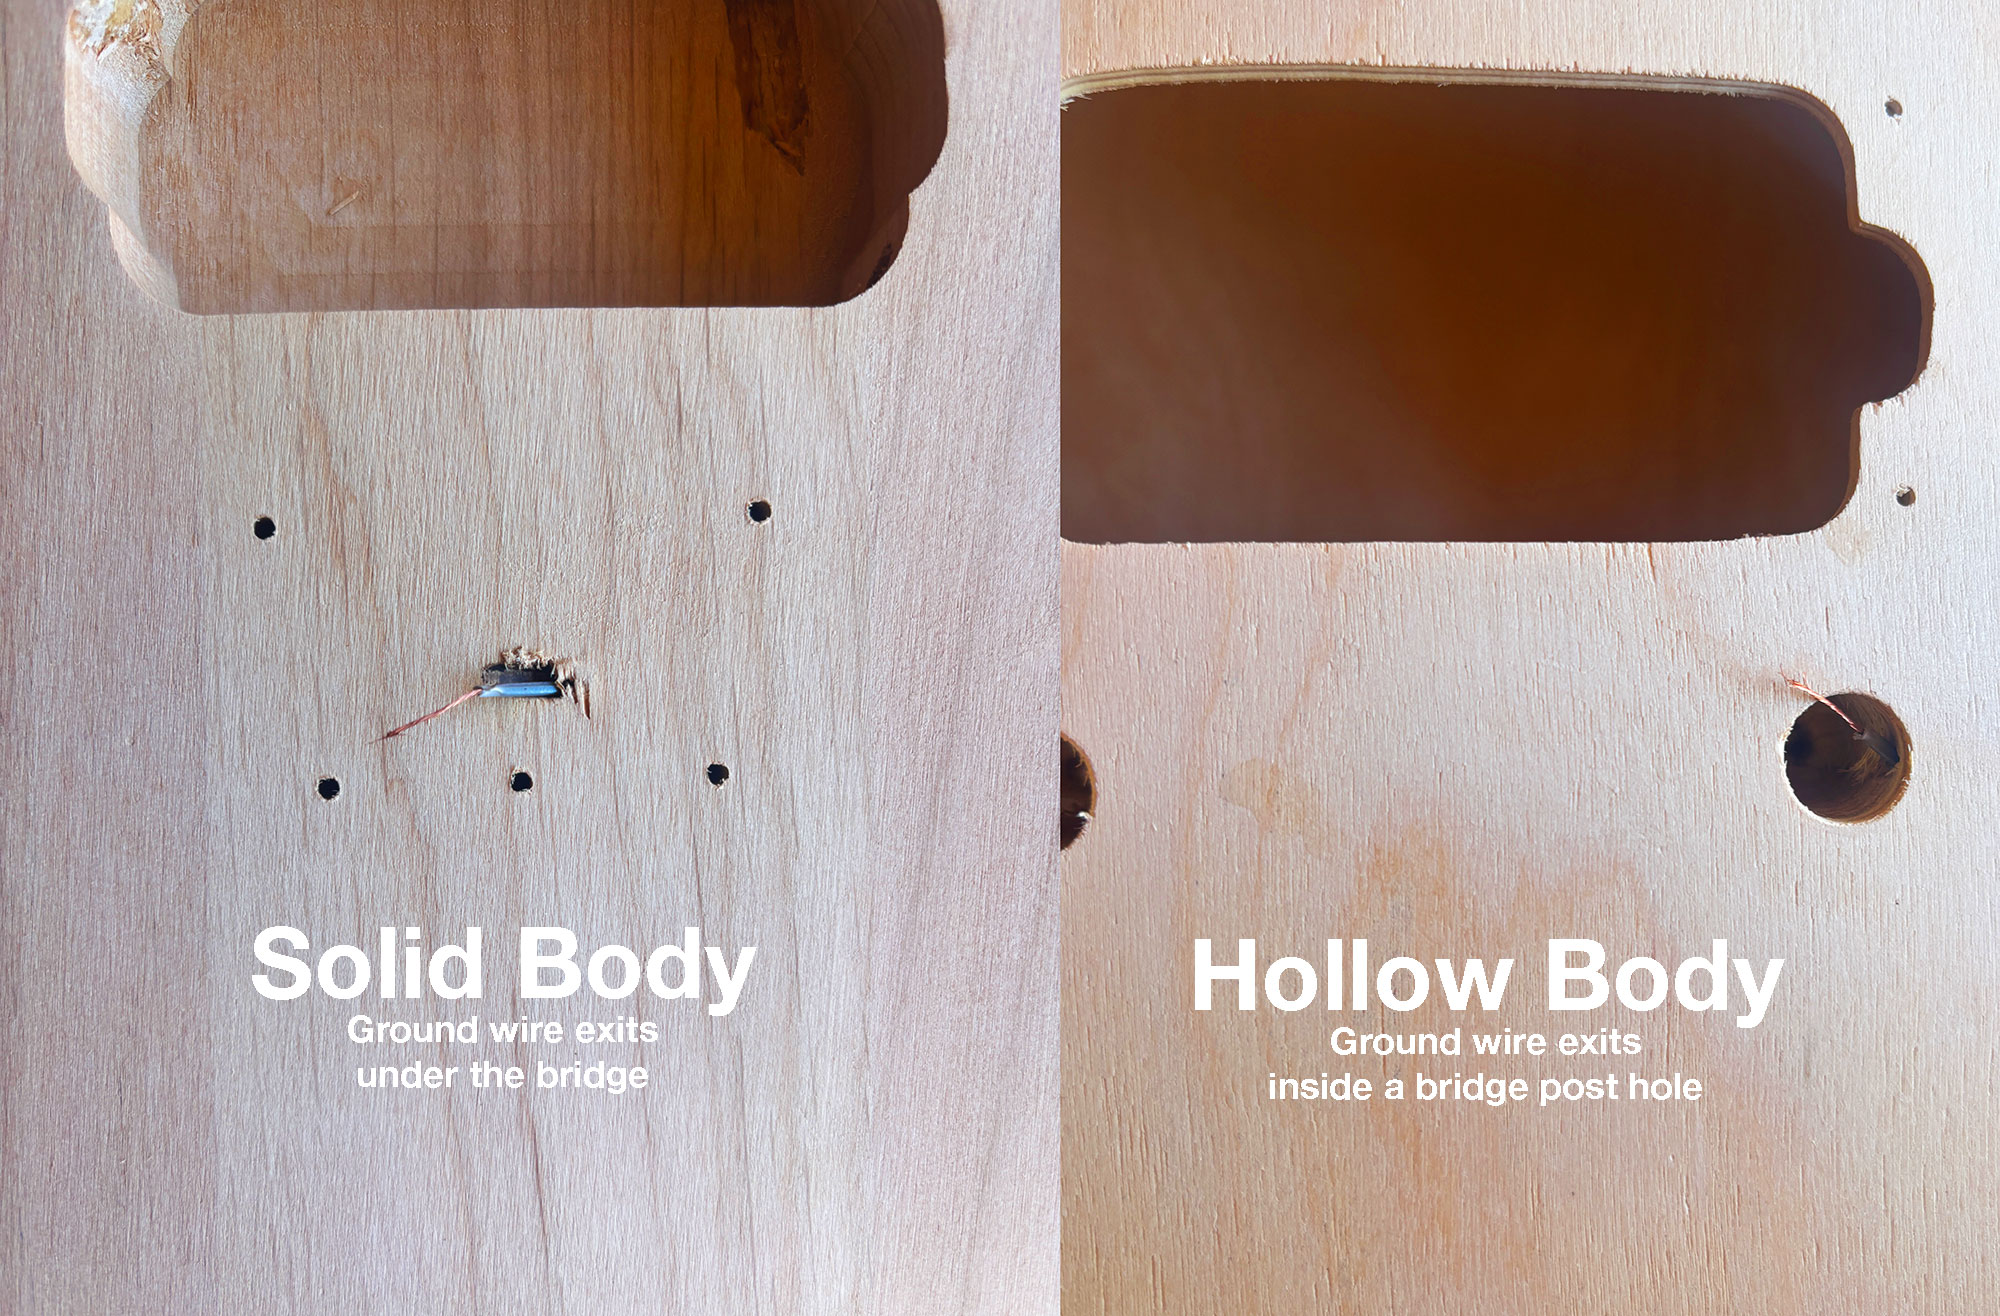
Bridge Ground: A commonly missed ground — a wire runs from a grounding point (back of a pot) to the bridge. This makes the bridge part of the ground circuit and is essential for quiet electronics.
Bridge ground wire exit point
Show the wire emerging under the bridge saddle area (Tele/Strat) or through a bridge post cavity (LP). This is the most commonly missed ground connection.
Pot Types
Each pot is marked A500k or B500k. A-pots have a logarithmic sweep and feel more natural for Volume. B-pots have a linear sweep and are typically used for Tone. Either can work in either position — the feel of the sweep will just differ slightly.
Pickup Positions
If your pickups mount in rings (LP-style), the taller ring is for the bridge, the shorter ring for the neck. Wiring colors are not standardized across manufacturers — refer to your diagram, not the colors.
Testing Before Stringing
Plug the guitar in, turn up the volume, and tap the pickup pole pieces with a screwdriver. You should hear an audible thump through the amp. No sound? Check that volume pots are turned up, then recheck your connections.
Hollow Body Wiring
No control access plate on hollow and semi-hollow guitars means all soldering happens outside the body. Do all your soldering first, then use a piece of string or dental floss fed through the mounting hole and out the f-hole to pull each component into position. Secure with the mounting nut.
Output Jacks
Two types are used: Mono and Stereo. Hot (from the switch or Volume pot) connects to the tip lug. Ground connects to the sleeve lug. On Stereo jacks, the third lug is unused in standard mono configurations.
Mono Jack — Hot to tip, Ground to sleeve
Stereo Jack — Hot to tip, Ground to sleeve, third lug unused
9
Build
Final Assembly & Setup
Bring it all together
With the neck secured and wiring complete, you're ready for final assembly.
Assembly Checklist
Guitar Setup — Do In Order
Each setup step depends on the one before it. Do not skip ahead.
1
Straighten the neck
Use the truss rod as described in Section 5. If the neck isn't straight, string height and intonation adjustments will be impossible to complete accurately.
2
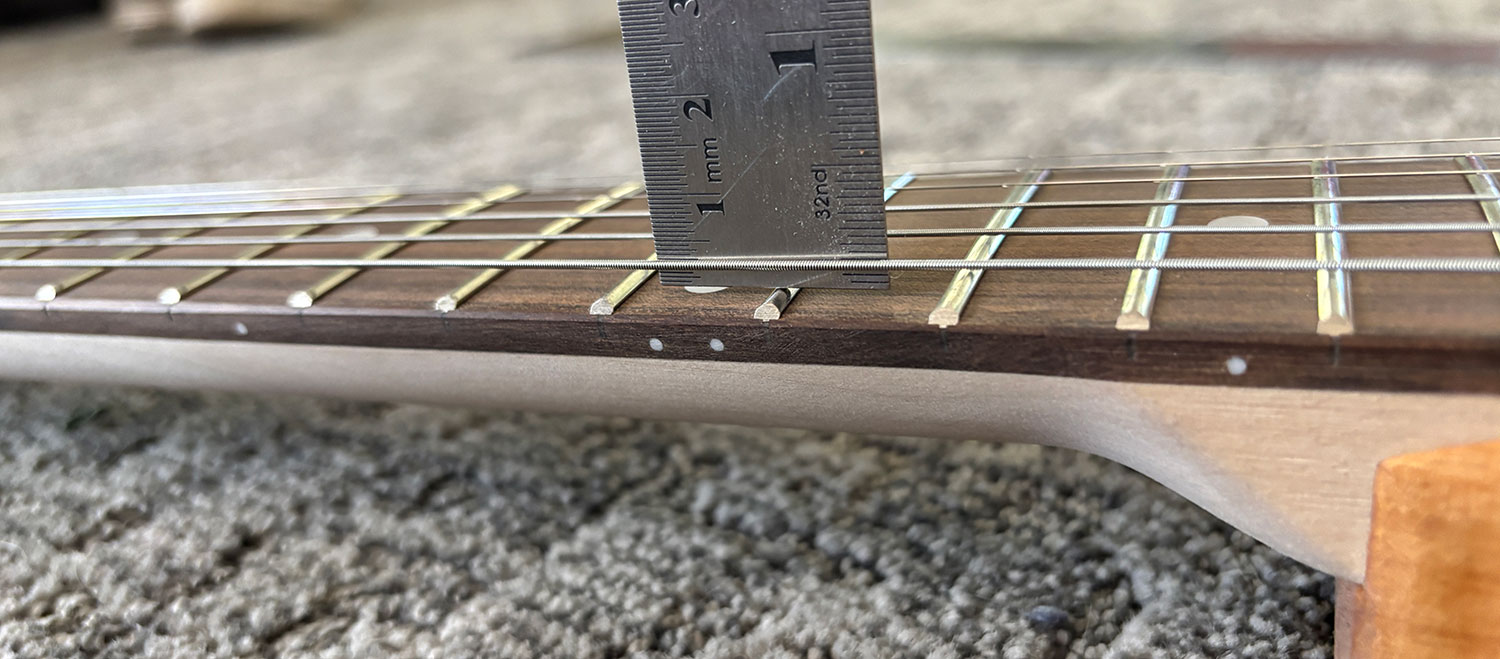
Set string height (action)
Measure the gap between the fretboard and strings at the 12th fret. Target: ~5/64" for bass strings, ~4/64" for treble. Adjust by raising or lowering the bridge saddles.
String height measurement
Ruler or feeler gauge at the 12th fret showing the gap between fretboard and string bottom.
3
Set intonation
Tune the open string to pitch, then play the 12th fret and check the tuner. If the two notes match — you're done with that string. Repeat for all strings.
12th fret is Sharp
Move saddle toward the back — this lengthens the string and lowers the pitch
12th fret is Flat
Move saddle toward the front — this shortens the string and raises the pitch